SwiftUIPrint
Affordances for printing views laid out using SwiftUI.
by Wolf McNally
The full code for the demo of this package is in SwiftUIPrintDemo.
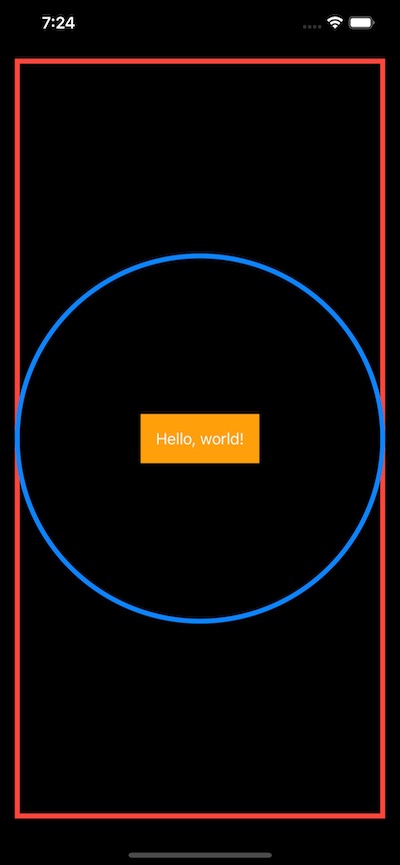
Let's say you have a SwiftUI View. It's adaptive to its container size and displays correctly under dark mode or light mode:
struct MyPageView: View {
    var body: some View {
            ZStack {
                Circle()
                    .inset(by: 2.5)
                    .stroke(Color.blue, lineWidth: 5)
                Text("Hello, world!")
                    .padding()
                    .background(Color.orange)
            }
            .background(
                Color.clear
                    .border(Color.red, width: 5)
            )
        }
    }
}
In the Simulator our view looks like this:
Now, let's say you want a button that prints this view to any printer. Ahh, not so fast! There's currently no simple way out of the box for SwiftUI to do that. SwiftUIPrint makes it easy to print a SwiftUI view using scalable resolution.
SwiftUIPrint provides a PagePreview so you can display your view as a thumbnail in roughly the aspect it will be printed. Here's the code for that:
struct ContentView: View {
    var body: some View {
        PagePreview(page: MyPageView(), pageSize: .constant(CGSize(width: 8.5 * 72, height: 11 * 72)))
            .padding()
    }
}
And here's how it looks in the simulator:
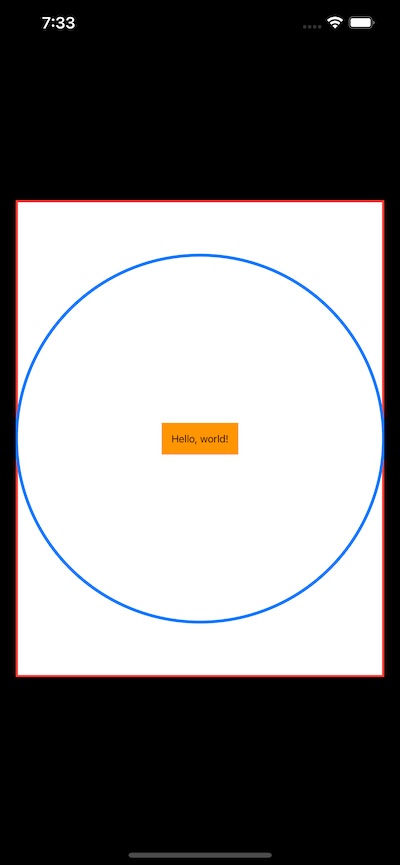
Notice that not only is the background white, but the text is also black and not white as in the first figure above. PagePreview shows your view in light mode, as it will be printed.
From here it's just a small step to setting up a view that shows the preview of the view you give it, lets you adjust any settings you require, and launches the actual printing workflow:
struct PrintSetup<Page>: View where Page: View {
    let page: Page

    var body: some View {
        VStack {
            Button {
                presentPrintInteractionController(page: page)
            } label: {
                Label("Print", systemImage: "printer")
                    .padding()
                    .overlay(
                        RoundedRectangle(cornerRadius: 10.0)
                            .stroke(lineWidth: 2.0)
                    )
            }
            PagePreview(page: page, pageSize: .constant(CGSize(width: 8.5 * 72, height: 11 * 72)))
        }
        .padding()
    }
}
The call to presentPrintInteractionController() does the magic of invoking the UIPrintInteractionController with all the information it needs to render your SwiftUI view!
struct ContentView: View {
    var body: some View {
        PrintSetup(page: MyPageView())
            .padding()
    }
}
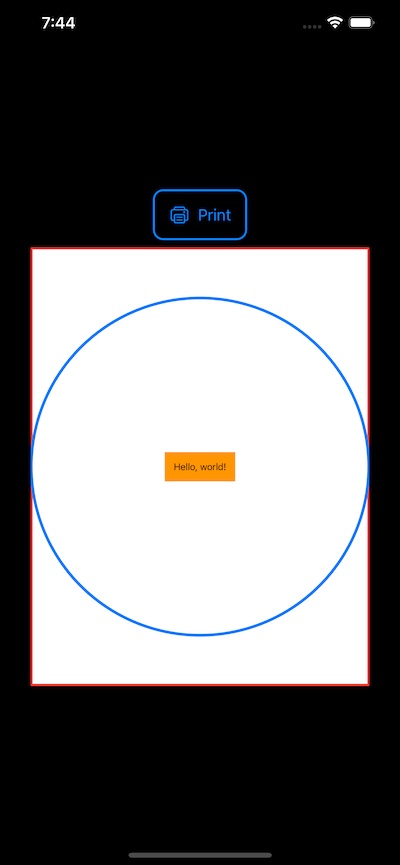
Here's how that looks in the app:
And when the Print button is tapped:
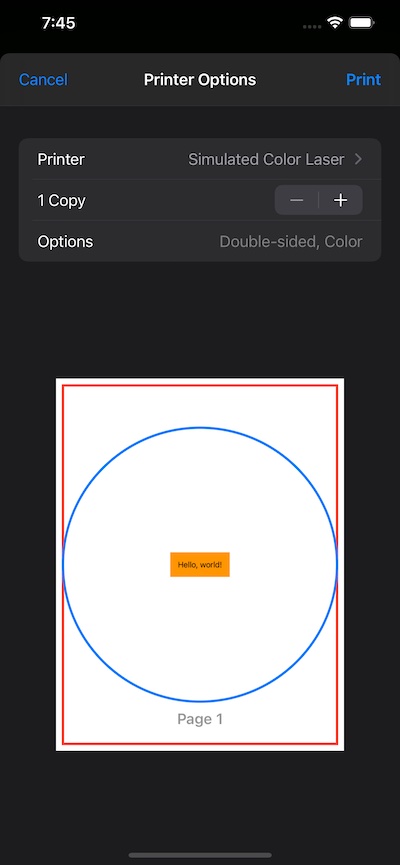
The resulting output will be at retina resolution, which looks great on most printers.
⚠️ Note: This technique depends on having SwiftUI render itself into a CoreGraphics context. This does not give you as much flexibility as rendering to a CGContext yourself. For instance, if instead of going straight to a printer you export to PDF instead, then any Text views you render using this method will still end up being bitmapped graphic objects in any PDF you export, and not actual text.
🐺
GitHub
| link |
| Stars: 11 |
| Last commit: 20 weeks ago |
Swiftpack is being maintained by Petr Pavlik | @ptrpavlik | @swiftpackco | API | Analytics