DeclarativeUIKit
![]()
UIKitのAutolayoutを宣言的に記述するライブラリです
Library for writing UIKit Autolayout declaratively.
self.declarative {
  UIScrollView.vertical {
    UIStackView.vertical {
      UIView()
      UIButton()
      UILabel()
    }
  }
}
Installation
Swift Package Manager
Once you have your Swift package set up, adding DeclarativeUIKit as a dependency is as easy as adding it to the dependencies value of your Package.swift.
dependencies: [
    .package(url: "https://github.com/sakiyamaK/DeclarativeUIKit", .upToNextMajor(from: "0.2"))
]
To install DeclarativeUIKit package via Xcode
Go to File -> Swift Packages -> Add Package Dependency... Then search for https://github.com/sakiyamaK/DeclarativeUIKit And choose the version you want
CocoaPods
CocoaPods is a dependency manager for Cocoa projects. For usage and installation instructions, visit their website. To integrate DeclarativeUIKit into your Xcode project using CocoaPods, specify it in your Podfile:
pod 'DeclarativeUIKit'
Documentation
English
Japanese
移行中
Quick Start
import UIKit
import DeclarativeUIKit

final class ViewController: UIViewController {

    override func viewDidLoad() {
        super.viewDidLoad()

        self.view.backgroundColor = .white

        self.declarative {
            UIScrollView.vertical {
                UIStackView.vertical {

                    UIView()
                      .apply { view in
                          print("命令的に記述も可能")
                          view.tintColor = .black
                          view.isUserInteractionEnabled = true
                      }
                      .size(width: 100, height: 100)
                      .backgroundColor(.red)
                      .transform(.init(rotationAngle: 45.0 / 360 * Double.pi))
                      .cornerRadius(30, maskedCorners: [.layerMinXMinYCorner, .layerMaxXMaxYCorner])
                      .border(color: .blue, width: 10)
                      .customSpacing(40)

                    UIButton()
                        .title("button", for: .normal)
                        .titleColor(.brown, for: .normal)
                        .add(target: self, for: .touchUpInside, { _ in
                            print("タッチアクション")
                        })

                    Array(1 ... 10).compactMap { num in
                        UILabel("\(num)番目のlabel")
                            .textColor(.black)
                            .textAlignment(.center)
                    }

                    UIView.spacer()
                }
                .spacing(20)
            }
        }
    }
}
Xcode Preview
Xcode Previewによりビルドすることなくレイアウトを確認することができます
Xcode Preview allows you to check the layout without building
import SwiftUI

#Preview {
  DeclarativeViewController()
}
Other Examples
-
Demo Projects
-
Copy SwiftUI Tutorial Chapter 1
Apple公式のSwiftUIチュートリアルのChapter 1を真似たサンプルです
This is a sample that mimics Chapter 1 of Apple's official SwiftUI tutorial.
_
-
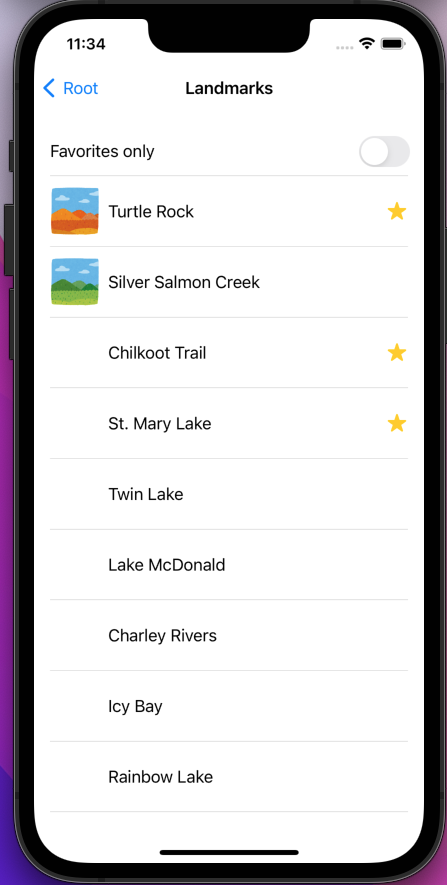
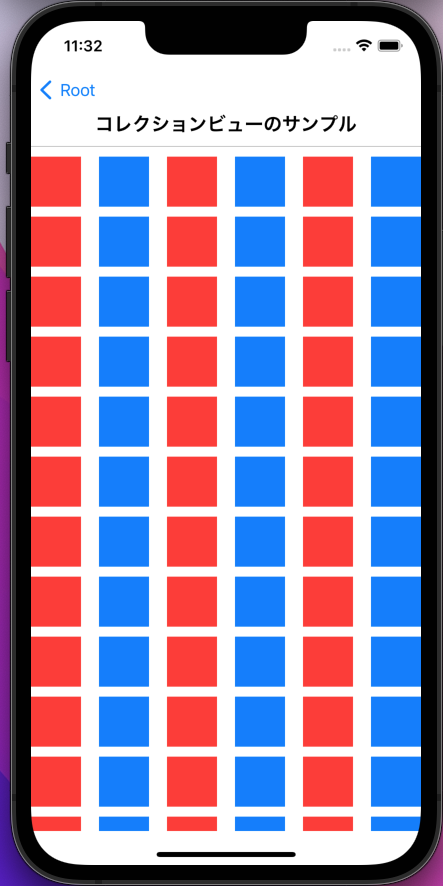
CollectionView
UICollectionViewの基礎のサンプルです
This is a sample of the basics of UICollectionView.
_
-
Github API
MVPアーキテクチャでGithub APIを実行するサンプルです
This is a sample of running the Github API on the MVP architecture.
_

-
GitHub
| link |
| Stars: 66 |
| Last commit: 2 weeks ago |
Release Notes
UICollectionLayoutListConfiguration, UIContextualAction, UISwipeActionsConfiguration
#121 #134 #135
Swiftpack is being maintained by Petr Pavlik | @ptrpavlik | @swiftpackco | API | Analytics