Parley Messaging iOS library
Easily setup a secure chat with the Parley Messaging iOS library. The Parley SDK allows you to fully customize the chat appearance and integrate it seamlessly in your own app for a great user experience.
Pay attention: You need an appSecret to use this library. The appSecret can be obtained by contacting Parley.
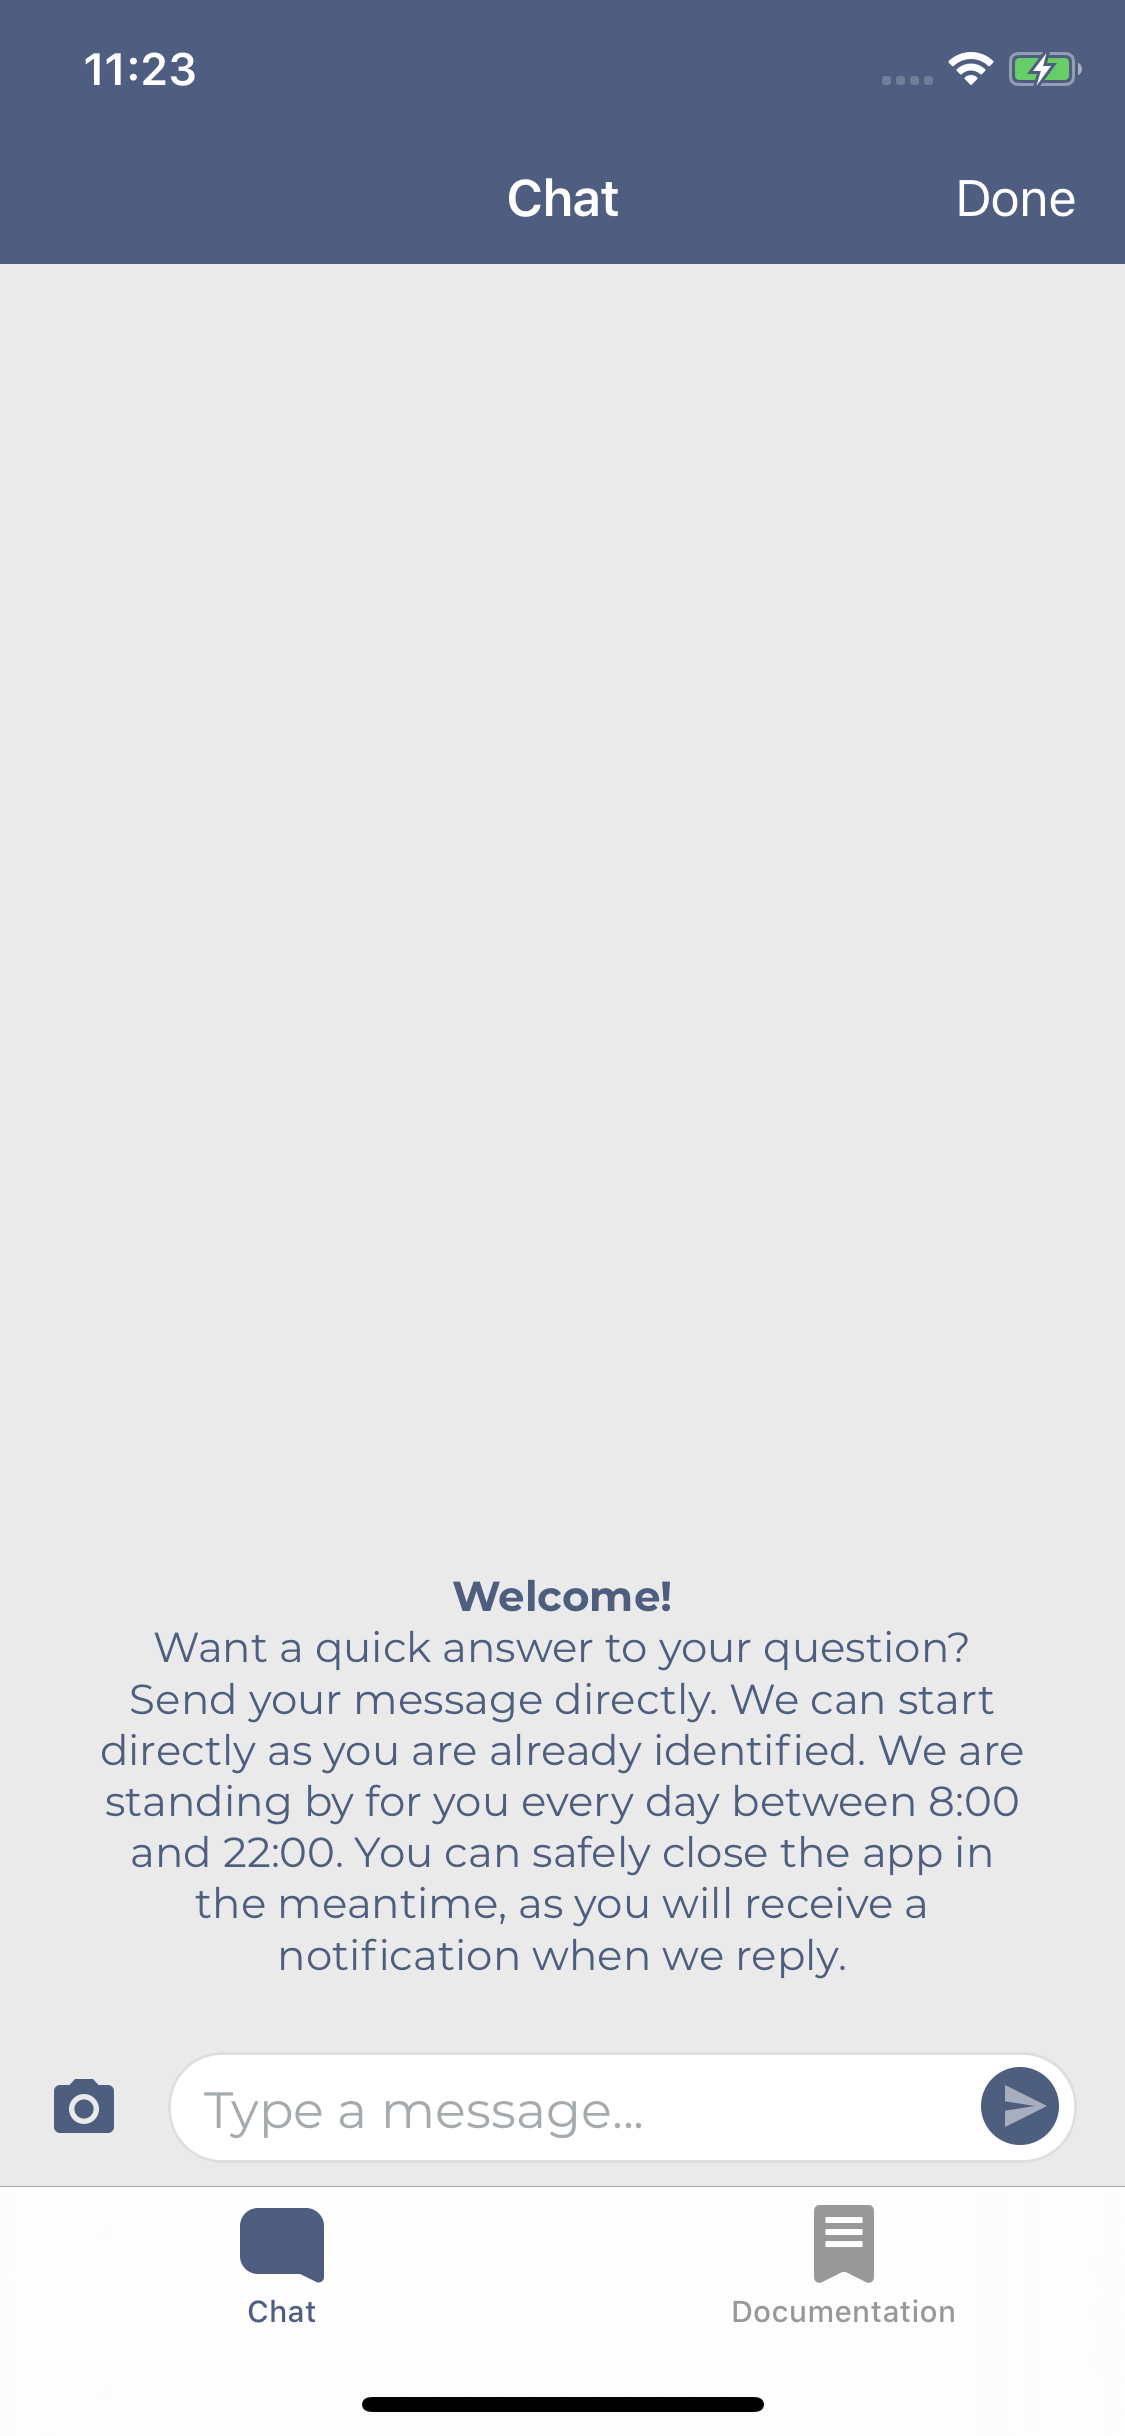
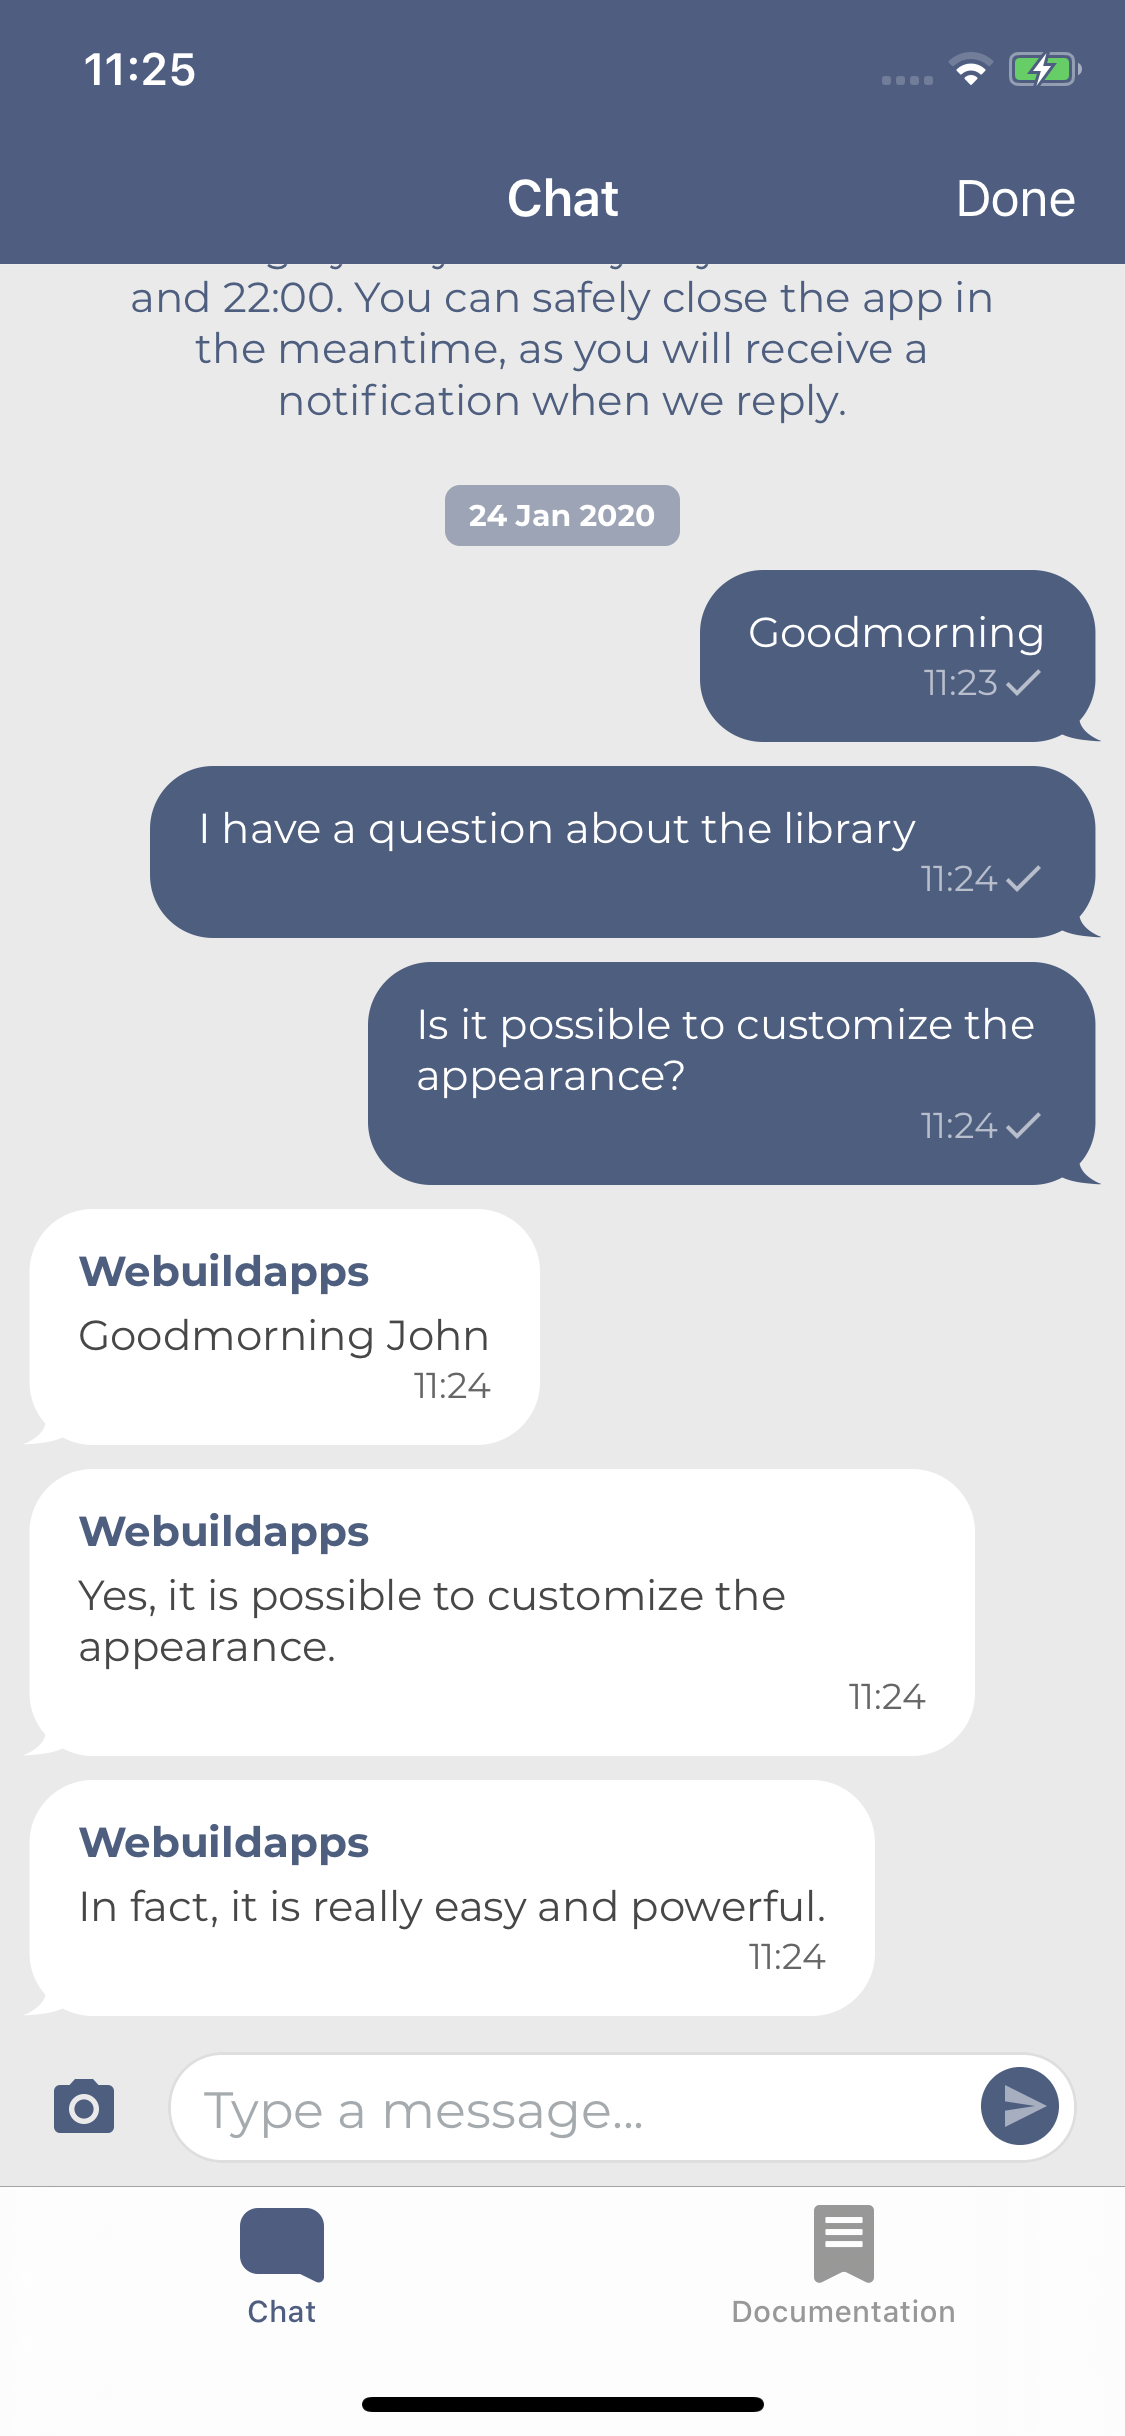
Screenshots
| Empty | Conversation |
|---|---|
 |
 |
Features
- Chat: Send and receive text messages by using Parley.
- Images and gifs: Send and receive images, including gifs, within the chat.
- Messages with actions: Provide custom action buttons, allowing the user to choose from a set of actions.
- Carousel messages: Sending carousel messages as an agent when using rich messaging.
- Nested messages: Carousel messages support the same features as other messages inside the chat.
- Answer Suggestions: Agents can provide reply suggestions for users when using rich messaging.
- Custom styling: Fully change the styling of the chat to match your brand. All elements can be styled based on your preference.
- Accessibility: Full support for VoiceOver and Dynamic Type for a more accessible experience.
Requirements
- iOS 13.0+
- Xcode 15+
- Swift 5.9+
Firebase
For remote notifications Parley relies on Google Firebase. Configure Firebase (using the installation guide) if you haven't configured Firebase yet.
Installation
Swift Package Manager
The Swift Package Manager is a tool for automating the distribution of Swift code and is integrated into the swift compiler.
Once you have your Swift package set up, adding Parley as a dependency is as easy as adding it to the dependencies value of your Package.swift.
dependencies: [
    .package(url: "[email protected]:parley-messaging/ios-library.git", .upToNextMajor(from: "4.0.x"))
]
The modules that are available:
ParleyRequired: The core of Parley and is always needed.ParleyNetworkOptional: This is a standard provided network implementation of Parley which uses Alamofire to handle network requests. When not including ParleyNetwork, you'll need to provide your own network implementation (see Advanced - Network layer).
Upgrading
Checkout CHANGELOG.md for the latest changes and upgrade notes.
Getting started
Follow the next steps to get a minimal setup of the library.
Step 1: Add the ParleyView to a ViewController
The ParleyView can be initialized manually or directly from the Storyboard.
Manual
Open the ViewController and add the following import:
import Parley
Create an instance of the Parley view (for example) in the viewDidLoad.
override func viewDidLoad() {
  super.viewDidLoad()

  let parleyView = ParleyView()
  parleyView.frame = self.view.frame

  self.view.addSubview(parleyView)
}
Storyboard
Add a view to the View Controller, select the Show the Identity inspector tab and change the Custom Class section to:
Class: ParleyView
Module: Parley
Step 2: Configure Parley
Configure Parley with your appSecret with Parley.configure(_ secret: String) (for example in your ViewController from step 1).
Parley.configure("appSecret")
Replace appSecret by your Parley appSecret. The appSecret can be obtained by contacting Parley.
Note: calling Parley.configure() twice is unsupported, make sure to call Parley.configure() only once for the lifecycle of Parley.
Step 3: Configure Firebase
Parley needs the FCM token to successfully handle remote notifications.
FCM Token
After retrieving an FCM token via your Firebase instance, pass it to the Parley instance in order to support remote notifications. This is can be done by using Parley.setPushToken(_:).
Parley.setPushToken("pushToken")
Other push types
Parley.setPushToken("pushToken", pushType: .customWebhook)
Parley.setPushToken("pushToken", pushType: .customWebhookBehindOAuth)
Parley.setPushToken("pushToken", pushType: .fcm) // Default
Handle remote notifications
Open your AppDelegate and add Parley.handle(_ userInfo: [AnyHashable: Any]) to the didReceiveRemoteNotification method to handle remote notifications.
extension AppDelegate : UNUserNotificationCenterDelegate {

    func application(_ application: UIApplication, didReceiveRemoteNotification userInfo: [AnyHashable : Any], fetchCompletionHandler completionHandler: @escaping (UIBackgroundFetchResult) -> Void) {
        _ = Parley.handle(userInfo)
    }

    func userNotificationCenter(_ center: UNUserNotificationCenter, willPresent notification: UNNotification, withCompletionHandler completionHandler: @escaping (UNNotificationPresentationOptions) -> Void) {
        if UIApplication.applicationState == .active {
            completionHandler([]) // Do not show notifications when app is in foreground
        } else {
            completionHandler([.alert, .sound])
        }
    }
}
Step 4: Camera usage description
Add a camera and photo library usage description to the Info.plist file.
<key>NSCameraUsageDescription</key>
<string>We need access to the camera to take photos.</string>
<key>NSPhotoLibraryUsageDescription</key>
<string>We need access to the photo library to select photos.</string>
Step 5: Add the certificate of the chat API
By default, Parley applies Public Key Pinning on every request executed to the chat api. The certificate(s) should be added to your project.
You can use the certificates in this repository when using the default base url:
/Example/ParleyExample/Supported Files/_.parley.nu_29-Jul-2023.cer(Expires at: 29 Jul 2023)/Example/ParleyExample/Supported Files/_.parley.nu_26-Jun-2023.cer(Expires at: 27 Jun 2024)
When a certificate is going to expire you can safely transition by adding the new .cer to the project. It is important to leave the old .cer in the app until after the new one is valid. In the next release the old certificate can be removed.
More information about Public Key Pinning can be found on the website of OWASP.
Advanced
Parley allows the usage of advanced configurations, such as specifying the network, specifying the user information or enabling offline messaging. In all use cases it is recommended to apply the advanced configurations before configuring the chat with Parley.configure(_ secret: String).
Network configuration
The network configuration can be set by setting a ParleyNetworkConfig with the Parley.configure(_ network: ParleyNetwork) method.
let headers: [String: String] = [
    "Custom-Header": "Custom header value"
]
let networkConfig = ParleyNetworkConfig(
    url: "https://api.parley.nu/",
    path: "clientApi/v1.7",
    apiVersion: .v1_7,
    headers: headers
)
Parley.configure("appSecret", networkConfig: networkConfig)
Don't forget to add the right certificate to the project.
Network layer
The standard ParleyNetwork implementation relies on Alamofire as a dependency which is included in the ParleyNetwork module.
Parley suppports providing a custom network layer, by doing so you can remove the ParleyNetwork module dependency and implement your own.
Create your own network session by adhering to the ParleyNetworkSession protocol:
class CustomNetworkSession : ParleyNetworkSession {
    func request(_ url: URL, data: Data?, method: ParleyHTTPRequestMethod, headers: [String : String], completion: @escaping (Result<ParleyHTTPDataResponse, ParleyHTTPErrorResponse>) -> Void) -> ParleyRequestCancelable {
        // ...
    }

    func upload(data: Data, to url: URL, method: ParleyHTTPRequestMethod, headers: [String : String], completion: @escaping (Result<ParleyHTTPDataResponse, ParleyHTTPErrorResponse>) -> Void) -> ParleyRequestCancelable {
        // ...
    }
}
Next, configure Parley with the created network session:
let networkSession = CustomNetworkSession()
Parley.configure("appSecret", networkConfig: networkConfig, networkSession: networkSession)
User information
The chat can be identified and encrypted by applying an authorization token to the Parley.setUserInformation(_ authorization: String) method. The token can easily be generated on a secure location by following the Authorization header documentation.
let authorization = "ZGFhbnw5ZTA5ZjQ2NWMyMGNjYThiYjMxNzZiYjBhOTZmZDNhNWY0YzVlZjYzMGVhNGZmMWUwMjFjZmE0NTEyYjlmMDQwYTJkMTJmNTQwYTE1YmUwYWU2YTZjNTc4NjNjN2IxMmRjODNhNmU1ODNhODhkMmQwNzY2MGYxZTEzZDVhNDk1Mnw1ZDcwZjM5ZTFlZWE5MTM2YmM3MmIwMzk4ZDcyZjEwNDJkNzUwOTBmZmJjNDM3OTg5ZWU1MzE5MzdlZDlkYmFmNTU1YTcyNTUyZWEyNjllYmI5Yzg5ZDgyZGQ3MDYwYTRjZGYxMzE3NWJkNTUwOGRhZDRmMDA1MTEzNjlkYjkxNQ"

Parley.setUserInformation(authorization)
Additional information
Additionally, you can set additional information of the user by using the additionalInformation parameter in Parley.setUserInformation() method. The parameter accepts a [String: String] Dictionary.
let authorization = "ZGFhbnw5ZTA5ZjQ2NWMyMGNjYThiYjMxNzZiYjBhOTZmZDNhNWY0YzVlZjYzMGVhNGZmMWUwMjFjZmE0NTEyYjlmMDQwYTJkMTJmNTQwYTE1YmUwYWU2YTZjNTc4NjNjN2IxMmRjODNhNmU1ODNhODhkMmQwNzY2MGYxZTEzZDVhNDk1Mnw1ZDcwZjM5ZTFlZWE5MTM2YmM3MmIwMzk4ZDcyZjEwNDJkNzUwOTBmZmJjNDM3OTg5ZWU1MzE5MzdlZDlkYmFmNTU1YTcyNTUyZWEyNjllYmI5Yzg5ZDgyZGQ3MDYwYTRjZGYxMzE3NWJkNTUwOGRhZDRmMDA1MTEzNjlkYjkxNQ"

let additionalInformation = [
    kParleyAdditionalValueName: "John Doe",
    kParleyAdditionalValueEmail: "[email protected]",
    kParleyAdditionalValueAddress: "Randstad 21 30, 1314, Nederland"
]

Parley.setUserInformation(authorization, additionalInformation: additionalInformation)
Clear user information
Parley.clearUserInformation()
Offline messaging
To enable offline messaging, you will have to provide the ParleyMessageDataSource, ParleyKeyValueDataSource and ParleyImageDataSource datasources. These are interfaces you can implement yourself, or use Parley's standard implementations.
Parley provides AES Encrypted implementations, you will have to construct the ParleyCrypter with a key, you are free to specify the key size yourself.
Then you can construct each of the dataSources with the ParleyCrypter. Optionally, you can specify the FileManager and Directory for each datasource.
When specifying the directory, it is highly recommended to have different directories for each datasource, not doing so would result in two or more datasources working in the same directory, this could cause overwritten or deleted files.
do {
    let key = "1234567890123456"
    let crypter = try ParleyCrypter(key: key, size: .bits128)
    let parleyMessageDataSource = try ParleyEncryptedMessageDataSource(crypter: crypter, directory: .default, fileManager: .default)
    let parleyKeyValueDataSource = try ParleyEncryptedKeyValueDataSource(crypter: crypter, directory: .default, fileManager: .default)
    let imageDataSource = try ParleyEncryptedImageDataSource(crypter: crypter, directory: .default, fileManager: .default)

    Parley.enableOfflineMessaging(
        messageDataSource: parleyMessageDataSource,
        keyValueDataSource: parleyKeyValueDataSource,
        imageDataSource: imageDataSource
    )
} catch {
    print(error)
}
Disable offline messaging
Parley.disableOfflineMessaging()
Send a (silent) message
In some cases it may be handy to send a message for the user. You can easily do this by calling;
Parley.send("Lorem ipsum dolar sit amet")
Silent
It is also possible to send silent messages. Those messages are not visible in the chat.
Parley.send("User opened chat", silent: true)
Referrer
Parley.setReferrer("https://parley.nu/")
Custom Unique Device Identifier
By default Parley uses a random UUID as device identifier which will be stored in the user defaults. This can be overridden by passing a custom uniqueDeviceIdentifier to the configure method:
Parley.configure("appSecret", uniqueDeviceIdentifier: "uniqueDeviceIdentifier")
When passing the uniqueDeviceIdentifier to the configure method, Parley will not store it. Client applications are responsible for storing it and providing Parley with the same ID in this case.
Reset
Parley doesn't need to be reset usually, but in some cases this might be wanted. For example when a user logs out and then logs in with a different account.
Resetting Parley will clear the current user information and chat data that is in memory.
Requires calling the configure() method again to use Parley.
Parley.reset()
Customize
Callbacks
Parley provides a ParleyViewDelegate that can be set on the ParleyView for receiving callbacks.
self.parleyView.delegate = self
extension ChatViewController: ParleyViewDelegate {

    func didSentMessage() {
        debugPrint("ChatViewController.didSentMessage")
    }
}
Appearance
Images
Image upload is enabled by default.
self.parleyView.imagesEnabled = false
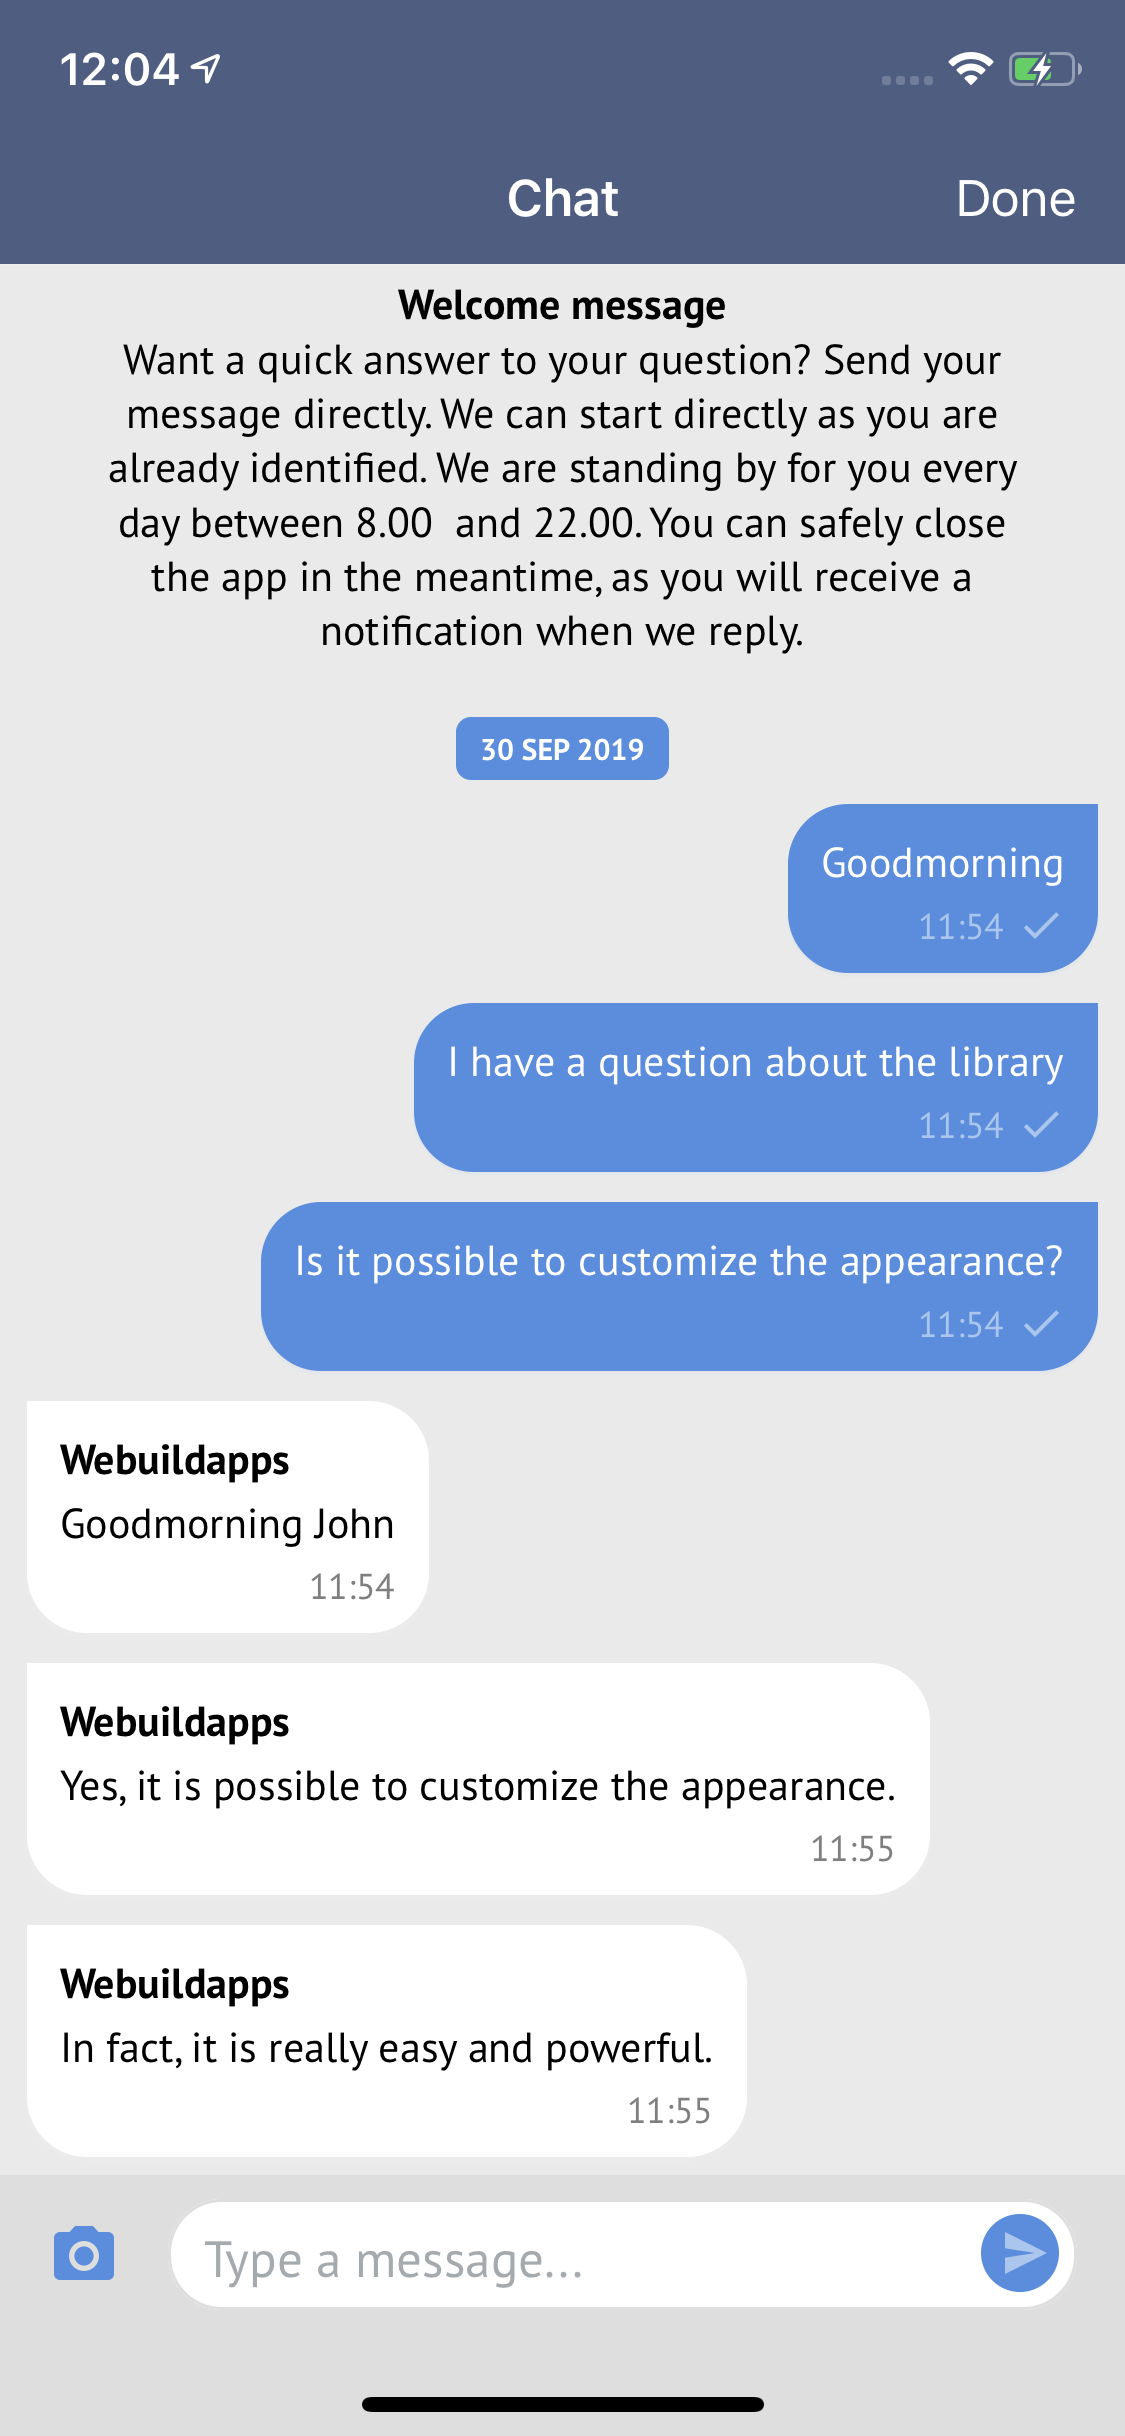
Appearance
Parley provides a ParleyViewAppearance that can be set on the ParleyView to customize the chat appearance. ParleyViewAppearance can be initialized with a regular, italic and bold font which are customizable. Take a look at ChatViewController.swift for an example of how to use the ParleyViewAppearance.
let appearance = ParleyViewAppearance(fontRegularName: "Montserrat-Regular", fontItalicName: "Montserrat-Italic", fontBoldName: "Montserrat-Bold")
appearance.offlineNotification.show = true
appearance.pushDisabledNotification.show = true

parleyView.appearance = appearance
Examples
| Modern | |
|---|---|
 |
 |
License
Parley is available under the MIT license. See the LICENSE file for more info.
GitHub
| link |
| Stars: 2 |
| Last commit: 2 weeks ago |
Related Packages
Release Notes
- Added
ParleyViewAppearance.loaderTintColorto tint the loading indicator of the chat.
Swiftpack is being maintained by Petr Pavlik | @ptrpavlik | @swiftpackco | API | Analytics