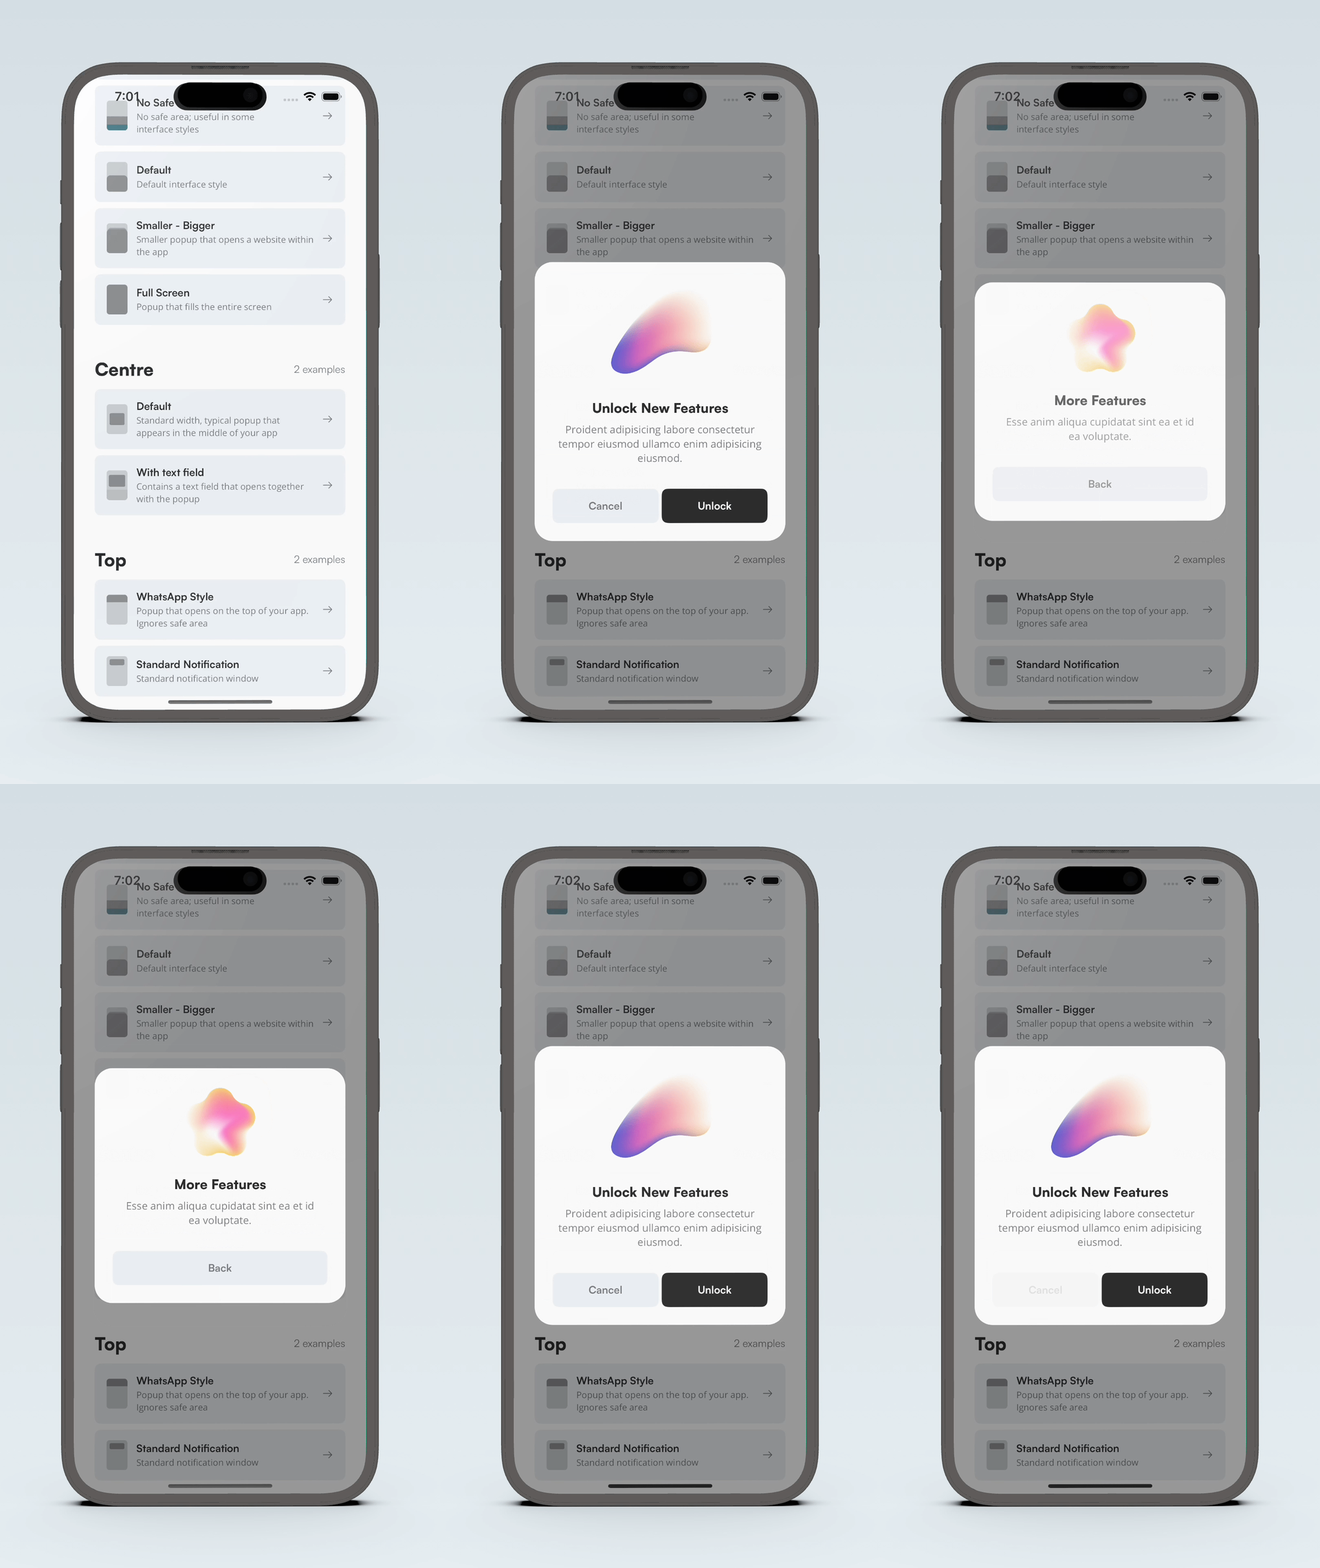
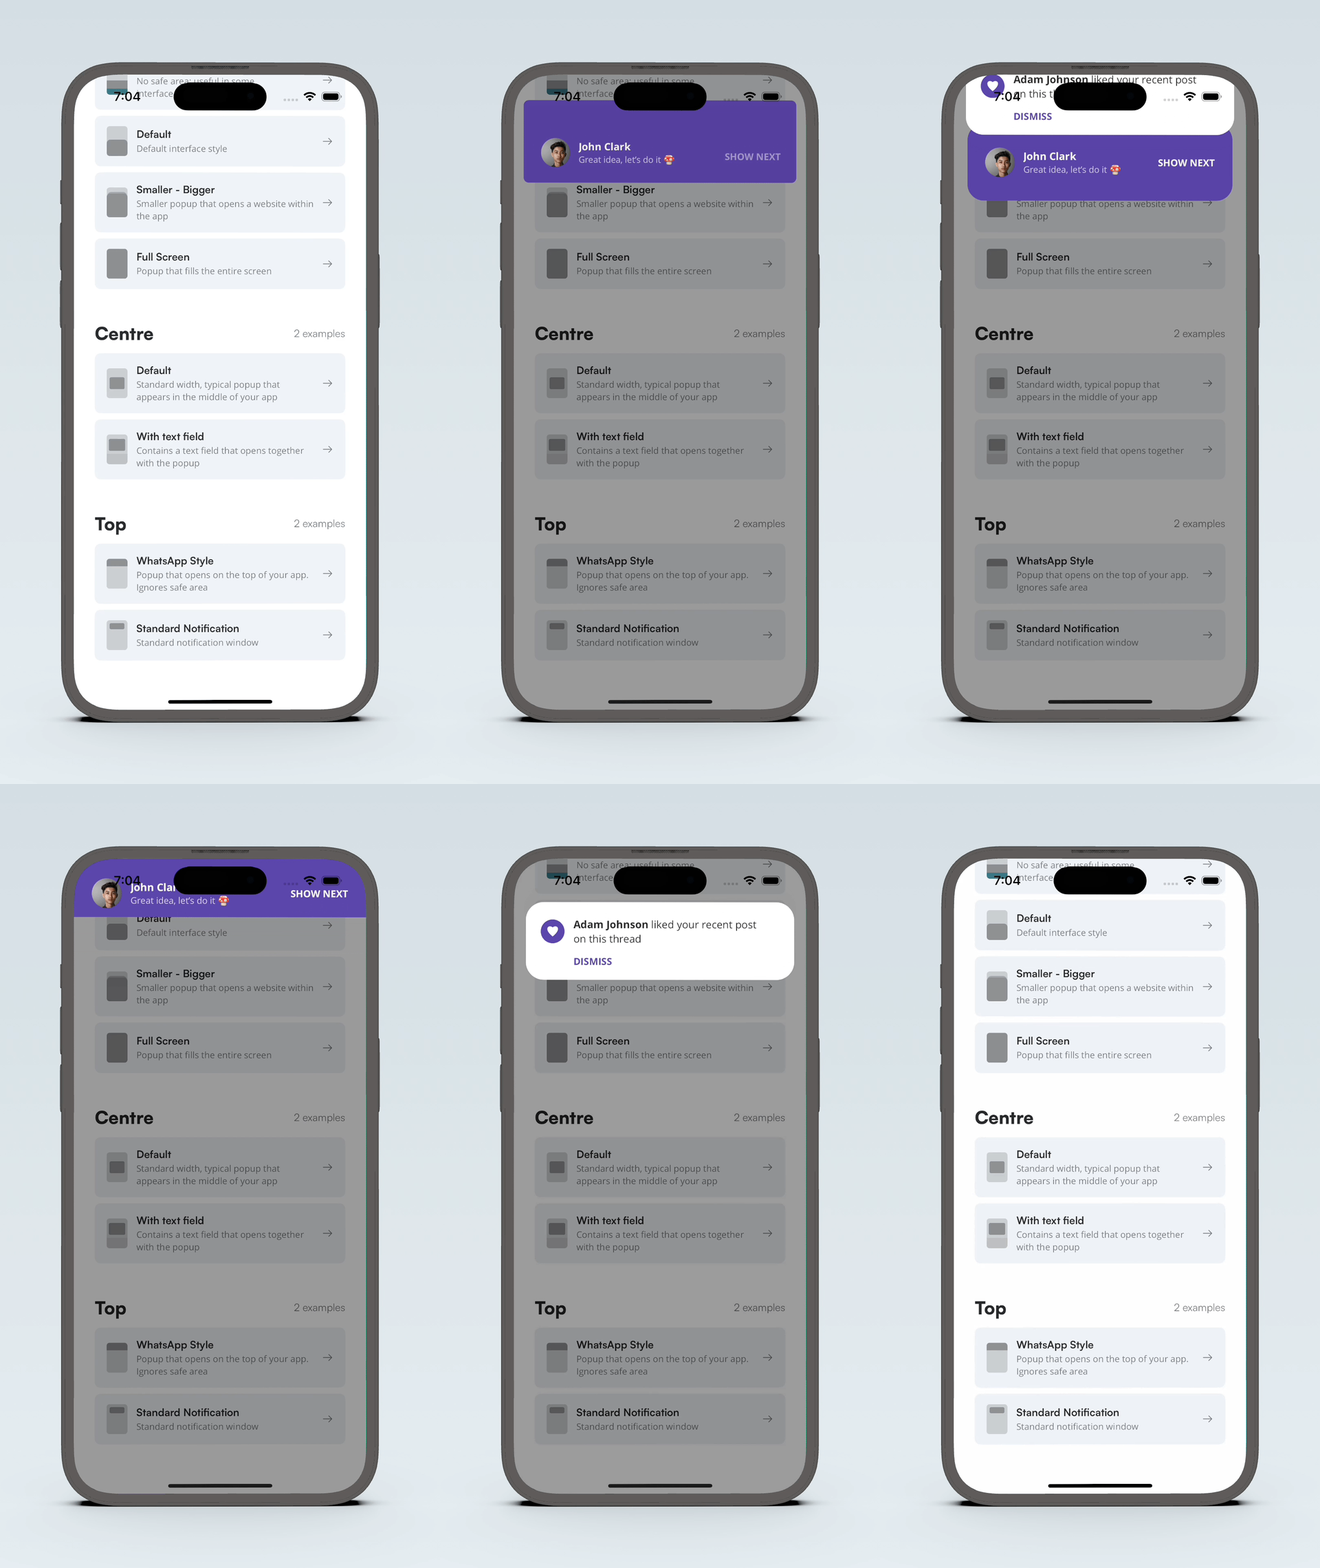
Popups presentation made simple
Create beautiful and fully customisable popups in no time. Keep your code clean


PopupView is a free and open-source library dedicated for SwiftUI that makes the process of presenting popups easier and much cleaner.
- Improves code quality. Show your popup using the
showAndStack()orshowAndReplace()method.
Hide the selected one withdismiss(). Simple as never. - Create any popup. We know how important customisation is; that's why we give you the opportunity to design your popup in any way you like.
- Designed for SwiftUI. While developing the library, we have used the power of SwiftUI to give you powerful tool to speed up your implementation process.
Getting Started
✋ Requirements
| Platforms | Minimum Swift Version |
|---|---|
| iOS 14+ | 5.0 |
| iPadOS 14+ | 5.0 |
| macOS 12+ | 5.0 |
| tvOS 15+ | 5.0 |
⏳ Installation
Swift Package Manager
Swift Package Manager is a tool for automating the distribution of Swift code and is integrated into the Swift compiler.
Once you have your Swift package set up, adding PopupView as a dependency is as easy as adding it to the dependencies value of your Package.swift.
dependencies: [
    .package(url: "https://github.com/Mijick/PopupView.git", branch(“main”))
]
Cocoapods
Cocoapods is a dependency manager for Swift and Objective-C Cocoa projects that helps to scale them elegantly.
Installation steps:
- Install CocoaPods 1.10.0 (or later)
- Generate CocoaPods for your project
pod init
- Add CocoaPods dependency into your
Podfile
pod 'MijickPopupView'
- Install dependency and generate
.xcworkspacefile
pod install
- Use new XCode project file
.xcworkspace
Usage
1. Setup library
Inside your @main structure call the implementPopupView method. It takes the optional argument - config, that can be used to configure some modifiers for all popups in the application.
  var body: some Scene {
        WindowGroup(content: ContentView().implementPopupView)
  }
2. Declare a structure of your popup
The library provides an ability to present your custom view in three predefinied places - Top, Centre and Bottom.
In order to present it, it is necessary to confirm to one of the protocols during your view declaration:
TopPopup- presents popup view from the topCentrePopup- presents popup view from the centerBottomPopup- presents popup view from the bottom
So that an example view you want to present will have the following declaration:
struct BottomCustomPopup: BottomPopup {
    ...
}
3. Implement createContent() method
The function above is used instead of the body property, and declares the design of the popup view.
struct BottomCustomPopup: BottomPopup {
    func createContent() -> some View {
        HStack(spacing: 0) {
            Text("Witaj okrutny świecie")
            Spacer()
            Button(action: dismiss) { Text("Dismiss") }
        }
        .padding(.vertical, 20)
        .padding(.leading, 24)
        .padding(.trailing, 16)
    }
    ...
}
4. Implement configurePopup(popup: Config) -> Config method
Declaring this step is optional - if you wish, you can skip this step and leave the UI configuration to us.
Each protocol has its own set of methods that can be used to create a unique appearance for every popup.
struct BottomCustomPopup: BottomPopup {
    func createContent() -> some View {
        HStack(spacing: 0) {
            Text("Witaj okrutny świecie")
            Spacer()
            Button(action: dismiss) { Text("Dismiss") }
        }
        .padding(.vertical, 20)
        .padding(.leading, 24)
        .padding(.trailing, 16)
    }
    func configurePopup(popup: BottomPopupConfig) -> BottomPopupConfig {
        popup
            .horizontalPadding(20)
            .bottomPadding(42)
            .cornerRadius(16)
    }
    ...
}
5. Present your popup from any place you want!
Just call BottomCustomPopup().showAndStack() from the selected place. Popup can be closed automatically by adding the dismissAfter modifier.
struct SettingsViewModel {
    ...
    func saveSettings() {
        ...
        BottomCustomPopup()
            .showAndStack()
            .dismissAfter(5)
        ...
    }
    ...
}
6. Closing popups
There are two methods to do so:
- By calling one of the methods
dismiss,dismiss(_ popup: Popup.Type),dismissAll(upTo: Popup.Type),dismissAllinside the popup you created
struct BottomCustomPopup: BottomPopup {
    ...
    func createButton() -> some View {
        Button(action: dismiss) { Text("Tap to close") }
    }
    ...
}
- By calling one of three static methods of PopupManager:
PopupManager.dismiss()PopupManager.dismiss(_ popup: Popup.Type)where popup is the popup you want to closePopupManager.dismissAll(upTo popup: Popup.Type)where popup is the popup up to which you want to close the popups on the stackPopupManager.dismissAll()
Try our demo
See for yourself how does it work by cloning project we created
License
PopupView is released under the MIT license. See LICENSE for details.
Our other open source SwiftUI libraries
Navigattie - Easier and cleaner way of navigating through your app
CalendarView - Create your own calendar object in no time
GridView - Lay out your data with no effort
Timer - Modern API for Timer
GitHub
| link |
| Stars: 881 |
| Last commit: 20 hours ago |
Related Packages
Release Notes
What's Changed
- Patch 2.4.0 by @jay-jay-lama in https://github.com/Mijick/PopupView/pull/93
Full Changelog: https://github.com/Mijick/PopupView/compare/2.3.1...2.4.0
Swiftpack is being maintained by Petr Pavlik | @ptrpavlik | @swiftpackco | API | Analytics