
GRProvider
Table of content
- Why to use?
- How to use?
- Features
- Animations
- Are you missing some property configuration?
- Installation
- License
Why to use?
Writing the simple scanario, where you want to use the basic implementation of the UITableView or UICollectionView is tedious.
You have to implement a lot of delegate methods, even for the simplest use-case.
I
Example: UITableViewDiffableDataSource accessible in iOS 13 is a simple approach of loading/diffing data in TableView
Learning curve is a little bit tedious, but it's worth for the future programing.
👍 Advantages:
- immutable data binding
- one source of the truth
- no need to do the custom diffing mechanism
- avoids synchronization bugs, exceptions and crashes
- avoids side effects
- uniform approach accross all providers
- simple usage of animations using provider with DeepDiff library or provider using
UITableViewDiffableDataSource
👎 Disadvantages:
- learning curve
- Not a good solution for the complicated/advanced usa case of the TableView or CollectionView
- different approach than the standard Apple iOS API
- usage of the third part diffing library DeepDiff
- contains only the most used delegates methods
- still in the development process
Look at this simple code you just need to write, to show data in Table View:
lazy var tableProvider = GRSimpleTableViewProvider<Int> { provider, tv, indexPath, item in
    guard let cell = tv.dequeueReusableCell(fromClass: SimpleTableViewCell.self, for: indexPath) else { return UITableViewCell() }
    cell.titleLabel.text = "Item with value: \(item)"
    return cell
}

private func showItems() {
    tableView.items(tableProvider, items: [1, 2, 3, 4, 5, 6, 7], animated: true)
}
That's all you need to do, when showing simple data in the TableView. Isn't that great? That's all you need to do.
No need of:
- assigning
tableView.delegate = self&tableView.dataSource = self - implementation of any DataSource/Delegate methods
- No need of casting/accessing the cell item property in collection (Arrays etc.)
How to use?
You can use this type of GRProviders:
GRSimpleTableViewProvider-> Use in case of you have just one section in theUITableViewGRTableViewProvider-> Default provider for theUITableViewGRDiffableTableViewProvider-> Inherits all functionality ofGRTableViewProviderbut usesUITableViewDiffableDataSourceAPI for diffing and animatingGRDeepDiffTableViewProvider-> Inherits all functionality ofGRTableViewProviderbut usesDeepDiffframework for diffing and animating. More info about framework click here.GRCollectionViewProvider-> Default provider for the CollectionViewGRDeepDiffCollectionViewProvider-> Inherits all functionality ofGRCollectionViewProviderbut usesDeepDiffframework for diffing and animating. More info about framework click here.GRDiffableCollectionViewProvider-> CollectionView provider that usesUICollectionViewDiffableDataSourceas a data source and leaves the layout handling forcollectionViewLayout. It is recommended to use this provider alongsideUICollectionViewCompositionalLayoutor any custom layout.
Define model
Firstly you need to model your data, showed in the UITableView or UICollectionView using any type you choose.
For example:
/// using Enum as Section & Class as Item
enum Section: Sectionable {

    case sectionOne([Item])
    case sectionTwo([Item])

    struct Item {
        let title: String
    }

}

/// using Class as a Section & Enum as an Item
class Section: Sectionable {
    let items: [Item]

    enum Item {
        case title
        case divider
        case advertisement
    }

}

/// Define only items without sections
enum Item {
    case title
    case divider
    case advertisement
}
You can model it, based on your preference. It's all up to you.
Create the instance of the UITableView and provider you choose
@IBOutlet weak var tableView: UITableView!
private let tableProvider = GRSimpleTableViewProvider<Item>()
Setup your provider
private func setupTableProvider() {
    tableProvider.configureCell = { provider, tableView, index, item in
        switch item {
        case .advertisement:
        return tableView.dequeueReusableCell(....)
        case .divider:
        return tableView.dequeueReusableCell(....)
        case .title:
        return tableView.dequeueReusableCell(....)
        }
    }
}
Show items in the UITableView
private func showItems() {
    let items: [Item] = [.title,
                         .divider,
                         .advertisement,
                         .divider,
                         .advertisement]

    tableProvider.bind(to: tableView, items: items)
}
🔥 That's it. All you need to do to show the simple list with 2 advertisements and title in few lines of code. 🔥
All together
Show list of strings in table view.
import UIKit
import GRProvider

class ViewController: UIViewController {

    @IBOutlet weak var tableView: UITableView!

    private let tableProvider = GRSimpleTableViewProvider<String>()

    override func viewDidLoad() {
        super.viewDidLoad()
        title = "Simple Table View Provider"

        setupTableView()
        showItems()
    }

    private func setupTableView() {
        tableProvider.estimatedHeightForRow = 100

        tableProvider.configureCell = { _, tv, index, title in
            guard let cell = tv.dequeueReusableCell(fromClass: SimpleTableViewCell.self, for: index) else { return UITableViewCell() }
            cell.titleLabel.text = title
            return cell
        }
    }

    private func showItems() {
        let items = (1...10).map { "Item \($0)" }
        tableProvider.bind(to: tableView, items: items)
    }

}
[!WARNING] ⚠️⚠️⚠️ Retain cycle: Be careful when using strong reference inside the closure. In case you need to call
selfinside the closure, don't forget to use[unowned self]or[weak self]
Features
UITableView Providers
You can choose one of these types of providers:
GRSimpleTableViewProvider-> Use in case of you have just one section in theUITableViewGRTableViewProvider-> Default provider for theUITableViewGRDiffableTableViewProvider-> Inherits all functionality ofGRTableViewProviderbut usesUITableViewDiffableDataSourceAPI for diffing and animatingGRDeepDiffTableViewProvider-> Inherits all functionality ofGRTableViewProviderbut usesDeepDiffframework for diffing and animating. More info about framework click here.
Features:
estimatedHeightForRow: CGFloat
Setup default estimated height of the dequeued cell.configureEstimatedCellHeight: CellHeightProviderYou can provide different height estimation for each cell separatelly.
tableProvider.configureEstimatedCellHeight = { _, _, _, item in
    switch item {
    case .advertisement:
        return 100
    case .divider:
        return 1
    case .title:
        return 24
    }
}
3.configureCellHeight: CellHeightProvider
You can provide different height for each cell separatelly.
tableProvider.configureCellHeight = { _, _, _, item in
    switch item {
    case .advertisement:
    return UITableView.automaticDimension
    case .divider:
        return 1
    case .title:
        return 24
    }
}
configureCell: CellProviderConfiguration for dequeueing cell based on the model provided in the provider instance.
tableProvider.configureCell = { provider, tableView, index, item in
    switch title {
    case .advertisement:
    return tableView.dequeueReusableCell(....)
    case .divider:
    return tableView.dequeueReusableCell(....)
    case .title:
    return tableView.dequeueReusableCell(....)
    }
}
configureSectionHeader: SectionHeaderFooterProvider&configureSectionFooter: SectionHeaderFooterProviderReturnsUIViewshowed in the header or te footer.
tableProvider.configureSectionHeader = { provider, section in
    let container = UIView()
    let label = UILabel()
    label.translatesAutoresizingMaskIntoConstraints = false

    container.addSubview(label)

    label.topAnchor.constraint(equalTo: container.topAnchor, constant: 15).isActive = true
    label.leftAnchor.constraint(equalTo: container.leftAnchor, constant: 15).isActive = true
    label.bottomAnchor.constraint(equalTo: container.bottomAnchor, constant: -15).isActive = true
    label.rightAnchor.constraint(equalTo: container.rightAnchor, constant: -15).isActive = true

    label.text = provider.sections[section].title

    return container
}
⚠️ Don't forget to setup height of the header. Ex:
tableProvider.heightForHeaderInSection = UITableView.automaticDimension
configureSectionHeaderHeight: SectionHeaderFooterHeightProvider&configureSectionFooterHeight: SectionHeaderFooterHeightProvider&heightForFooterInSection: CGFloat&heightForHeaderInSection: CGFloatYou can use one of the property from the list about, to configure height for the footer or the header in the section. In case you want to have different sizes useconfiguremethods. Otherwise useheightForFooterInSectionandheightForHeaderInSection.configureOnItemSelected: ItemSelectionProviderOne of the most used property in the provider. Setup the closure variable to be notified about the selection on the cell.
tableProvider.configureOnItemSelected = { [unowned self] _, _, _, item in
    switch item {
    case .advertisement:
        print("Advertisement clicked")
    case .divider:
        print("Advertisement clicked")
    case .title:
        print("Title clicked")
    }
}
configureTrailingSwipeGesture: SwipeGestureProvider&configureLeadingSwipeGesture: SwipeGestureProviderconfigureDidScroll: ScrollProviderconfigureRefreshGesture: ScrollProviderClosure is fired, when the table view contains the refresh control. WhenscrollViewDidEndDraggingexecutes, it automatically checks the refresh controlisRefreshingproperty and fires the event.configureDidEndDragging: DidEndDraggingProviderconfigureWillEndDragging: WillEndDraggingProvider
UICollectionView Providers
You can choose one of these types of providers:
GRCollectionViewProvider-> Default provider for theUICollectionViewGRDeepDiffCollectionViewProvider-> Inherits all functionality of theGRCollectionViewProviderbut uses theDeepDiffframework for diffing and animating. More info about the framework, click hereGRDiffableCollectionViewProvider-> CollectionView provider that usesUICollectionViewDiffableDataSourceas a data source and leaves the layout handling forcollectionViewLayout. It is recommended to use this provider alongsideUICollectionViewCompositionalLayoutor any custom layout. Therefore some of the features ascellSize,sectionInsetsand others are not available in this provider, selectedcollectionViewLayoutshould handle all the layout itself.
Features:
configureCell: ItemProviderconfigureCellSize: ItemSizeProviderconfigureSupplementaryElementOfKind: SupplementaryViewProviderconfigureSectionInsets: SectionInsetProviderconfigureMinLineSpacingForSection: MinLineSpacingProviderconfigureMinInteritemSpacingForSection: MinLineSpacingProviderconfigureOnItemSelected: ItemSelectionProviderconfigureDidScroll: ScrollProviderconfigureRefreshGesture: ScrollProviderconfigureWillEndDragging: WillEndDraggingProvider&configureDidEndDragging: DidEndDraggingProvidercellSize: CGSizesectionInsets: UIEdgeInsetsminimumLineSpacingForSection: CGFloatminInteritemSpacingForSection: CGFloat
Animating Differences
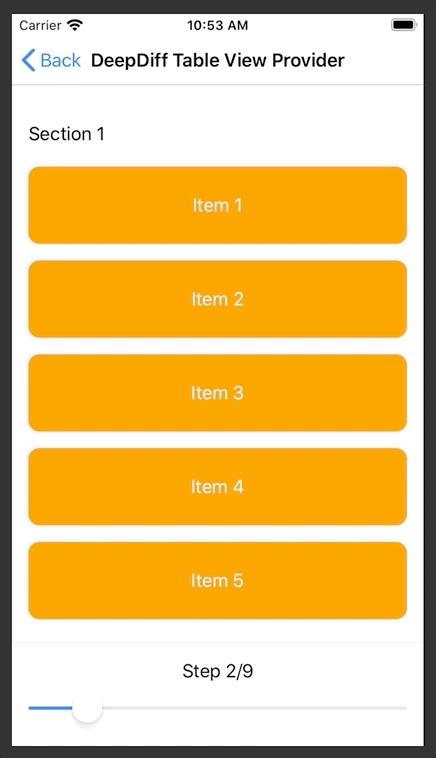
GRDeepDiffTableViewProvider
DeepDiff is a framework, used in past few years. It's fast with great benchmark against other alghoritms. More info about the library and alghoritm find here.
It works simillarly to the GRDiffableTableViewProvider, with same API but....
What is different?
- Your Section/Item model definition must comform to the
DiffAwareprotocol. - Constructor doesn't require instance of the
UITableViewunlike theDeepDiffTableViewProvider. - You can modify the animation for the insertion, deletion and replacement, what is not currently possible using the
DeepDiffTableViewProvider. - Available for all versions of iOS starting iOS 11.
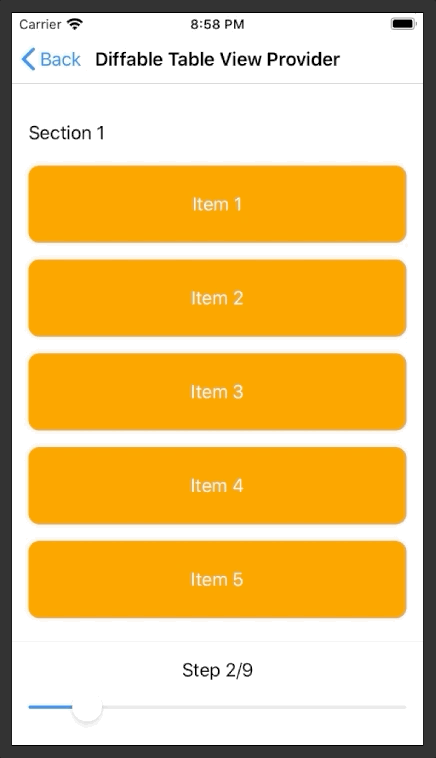
GRDiffableTableViewProvider #iOS13
Apple has released the new API for animating differences in table views and collection views called UITableViewDiffableDataSource.
You can find the documentation here.
GRProvider uses it's benefits and provides you a custom implementation benefitting on the GRDiffableTableViewProvider.
It uses the same API as other providers, so you don't need to worry about the learning curve. All providers shares their API.
What is different?
- You Section/Item model definition must comform to the
Hashableprotocol. - Constructor of the
GRDiffableTableViewProviderrequires instance of theUITableViewyou will use in items binding.
These 2 things are required to animate your items differences in the table view.
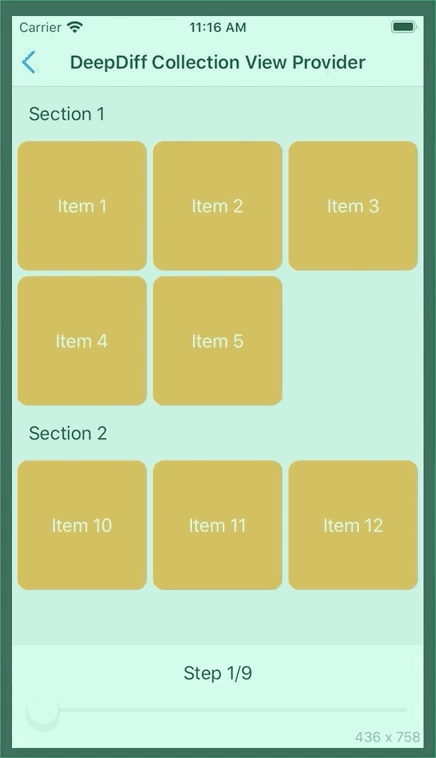
GRDeepDiffCollectionViewProvider
Similarly to this section
Are you missing some property configuration?
Just make a subclass of one of the providers and create aditional functionality. It's that simple.
⚠️ Be careful of overriding the current functionality. Use
superto prevent misunderstanding.
For example
class CustomSimpleTableViewProvider<Section: Sectionable>: GRTableViewProvider<Section> {

    open var configureDidHighlightRow: ((CustomSimpleTableViewProvider, UITableView, Section.Item) -> ())?

    func tableView(_ tableView: UITableView, didHighlightRowAt indexPath: IndexPath) {
        configureDidHighlightRow?(self, tableView, sections[indexPath.section].items[indexPath.row])
    }

    override func tableView(_ tableView: UITableView, numberOfRowsInSection section: Int) -> Int {
        print("Number of rows for section: \(section)")
        return super.tableView(tableView, numberOfRowsInSection: section)
    }

}
Installation
Swift Package Manager
Create a Package.swift file.
import PackageDescription

let package = Package(
    name: "SampleProject",
    dependencies: [
        .Package(url: "https://github.com/smajdalf/GRProvider" from: "0.0.1")
    ]
)
If you are using Xcode 11 or higher, go to File / Swift Packages / Add Package Dependency... and enter package repository URL https://github.com/smajdalf/GRProvider, then follow the instructions
License
GRProvider is released under the MIT license. See LICENSE for details.
GitHub
| link |
| Stars: 27 |
| Last commit: 42 weeks ago |
Dependencies
Release Notes
Derived from Greek goddess of the moon
Swiftpack is being maintained by Petr Pavlik | @ptrpavlik | @swiftpackco | API | Analytics