
A library for easily generating automatic Playbook (Demo) view and Tests using SwiftUI Preview
Works with: UI-components, screens and flows

![]()
![]()
![]()
![]()
Prefire

Do you like SwiftUI Preview and use it? Then you must try 🔥Prefire!
You can try 🔥Prefire starting from example project.
- ✅ Easy to use: Get started with the example project.
- ✅ Fully automatic generation based on Sourcery
- ✅ Generation Playbook (Demo) views
- ✅ Generation Snapshot tests based on swift-snapshot-testing
- ✅ Generation Accesability Snapshot tests
- ✅ Support for Xcode Plugin
Installation
Prefire can be installed for an Xcode Project or only for one Package.
Xcode Project Plugin
You can integrate Prefire as an Xcode Build Tool Plug-in if you're working on a project in Xcode.
- Add
Prefireas a package dependency to your project without linking any of the products.

- Select the target to which you want to add linting and open the
Build Phasesinspector. OpenRun Build Tool Plug-insand select the+button. From the list, selectPrefirePlaybookPluginorPrefireTestsPlugin, and add it to the project.

Swift Package Plugin
You can integrate Prefire as a Swift Package Manager Plug-in if you're working with
a Swift Package with a Package.swift manifest.
- Add Prefire as a package dependency to your
Package.swiftfile.
dependencies: [
    .package(url: "https://github.com/BarredEwe/Prefire", from: "1.0.0")
]
- Add Prefire to a target using the
pluginsparameter.
.target(
    plugins: [
        // For Playbook (Demo) view
        .plugin(name: "PrefirePlaybookPlugin", package: "Prefire")
    ]
),
.testTarget(
    plugins: [
        // For Snapshot Tests
        .plugin(name: "PrefireTestsPlugin", package: "Prefire")
    ]
)
Usage
To generate tests and playbook, simply mark your preview using the PrefireProvider protocol:
struct Text_Previews: PreviewProvider, PrefireProvider {
    static var previews: some View { ... }
}
If you use the #Preview macro, 🔥Prefire will automatically find it!
If you don't need it, mark view - .prefireIgnored():
#Preview {
    Text("")
        .prefireIgnored()
}
If you want to disable the automatic get of all previews, use the setting preview_default_enabled: false. Then to include preview in the test, you need to call the .prefireEnabled():
#Preview {
    Text("")
        .prefireEnabled()
}
Playbook (Demo) View
To use Playbook, simply use PlaybookView
- If you want to see a list of all the Views, use
isComponent: true - If you want to sort by UserStory, use
isComponent: false
import Prefire

struct ContentView: View {
    var body: some View {
        PlaybookView(isComponent: true, previewModels: PreviewModels.models)
    }
}
Snapshot tests
Just run generated tests 🚀 All tests will be generated in the DerivedData folder.

Plugin PrefireTestsPlugin will handle everything for you 🛠️
For detailed instruction, check out swift-snapshot-testing or examine an example project.
API
Prefire provide new commands for previews:
-
You can set the delay, precision and perceptualPrecision parameters for the snapshot:
.snapshot(delay: 0.3, precision: 0.95, perceptualPrecision: 0.98)static var previews: some View { TestView() .snapshot(delay: 0.3, precision: 0.95, perceptualPrecision: 0.98) } -
Function for connecting preview together in one Flow:
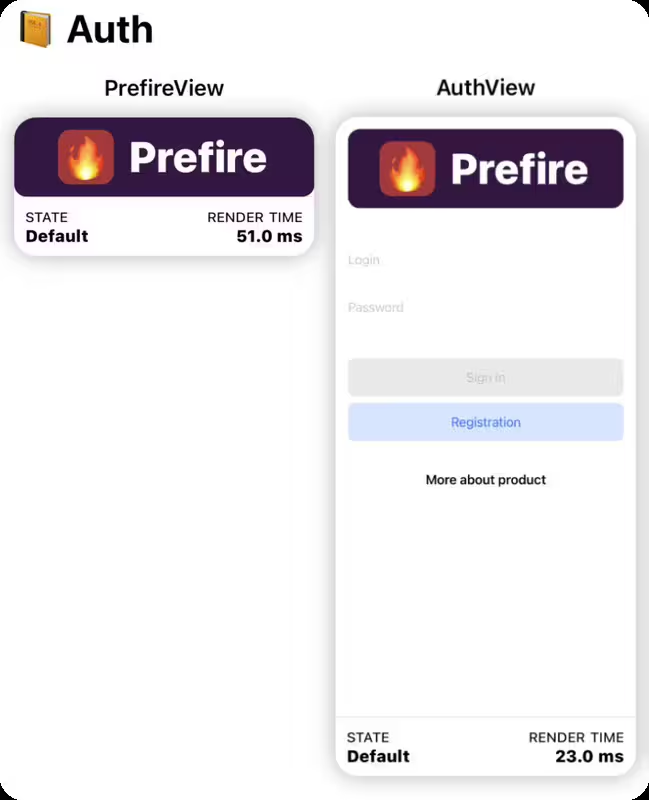
.previewUserStory(.auth)static var previews: some View { PrefireView() .previewUserStory(.auth) } static var previews: some View { AuthView() .previewUserStory(.auth) }For example Authorization flow:
LoginView,OTPViewandPincodeView
-
If a preview contains more than one
View, you can markStatefor these views.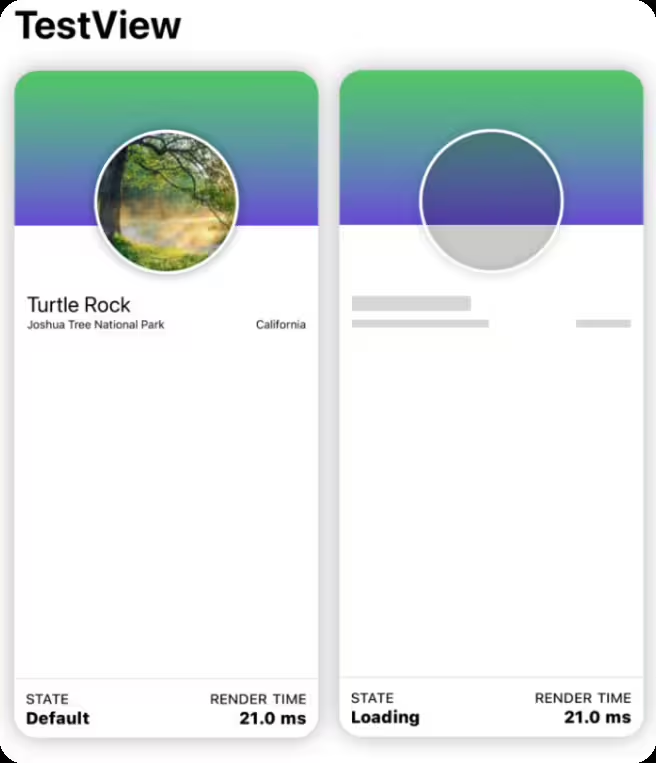
.previewState(.loading)static var previews: some View { TestView("Default") TestView("Loading") .previewState(.loading) }
Config
To further customize Prefire, you can create a .prefire.yml file in the root directory of your project. Here's an example of its content:
test_configuration:
  - target: PrefireExample
  - test_file_path: PrefireExampleTests/PreviewTests.generated.swift
  - template_file_path: CustomPreviewTests.stencil
  - simulator_device: "iPhone15,2"
  - required_os: 16
  - snapshot_devices:
  	- iPhone 14
  	- iPad
  - preview_default_enabled: true
  - imports:
    - UIKit
    - SwiftUI
  - testable_imports:
    - Prefire

prefire_configuration:
  - preview_default_enabled: true
  - imports:
    - UIKit
    - Foundation
  - testable_imports:
    - SwiftUI
Configuration keys and their descriptions
target- Your project Target for Snapshot tests. Default: FirstTargettest_file_path- Filepath to generated file. Default: DerivedDatatemplate_file_path- Stencil file for generated file. Optional parameter. Default: Templates/PreviewTests.stencil from the packagesimulator_device- Device for Snapshot testing. Optional parameter.required_os- iOS version for Snapshot testing. Optional parameter.snapshot_devices- the list of devices snapshots should be generated for. Thesimulator_devicespecified above will still be required and used, but snapshotting will take on the traits of thesnapshot_devices. ThedisplayScalewill default to2.0and device specific safe areas will be.zero. Optional parameter.preview_default_enabled- Do I need to automatically add all previews based on the new syntax to the tests. Default: trueimports- Additional imports for the generated Playbook/Tests. Optional parameter.testable_imports- Additional@testableimports for the generated Playbook/Tests. Optional parameter.
Requirements
- Swift 5.6 or higher
- Xcode 14.0 or higher
- iOS 14 or higher
Troubleshooting
NavigationView in Preview not supported for Playbook
- Consider using other views or layouts for your Playbook needs.
Running Prefire via CI
- To run Prefire via Continuous Integration (CI), you need to configure permissions:
defaults write com.apple.dt.Xcode ideskippackagepluginfingerprintvalidationbool YES
Xcode is unable to generate tests in a custom path.
- To resolve this, you’ll need to disable the sandbox for file generation by running the following command in your terminal:
defaults write com.apple.dt.Xcode IDEPackageSupportDisablePluginExecutionSandbox -bool YES
GitHub
| link |
| Stars: 196 |
| Last commit: 4 days ago |
Release Notes
What's Changed
- Remove source printing by @BarredEwe in https://github.com/BarredEwe/Prefire/pull/45
Full Changelog: https://github.com/BarredEwe/Prefire/compare/2.1.0...2.1.1
Swiftpack is being maintained by Petr Pavlik | @ptrpavlik | @swiftpackco | API | Analytics